

How to Connect and Use Resources on NRP
Using CAIDA Learning Modules: Student Guide
Instructors: this page is written for students who already have a namespace. If you are setting a course up and need access to the module answer keys, use the instructor access request form.
Getting onto the NRP Namespace
Start at the “Getting Started” page on the NRP website.
-
Follow steps 1-6, beginning with pointing your browser to the NRP Nautilus portal and ending with the step that directs students to contact their research supervisor to be added to a namespace.
-
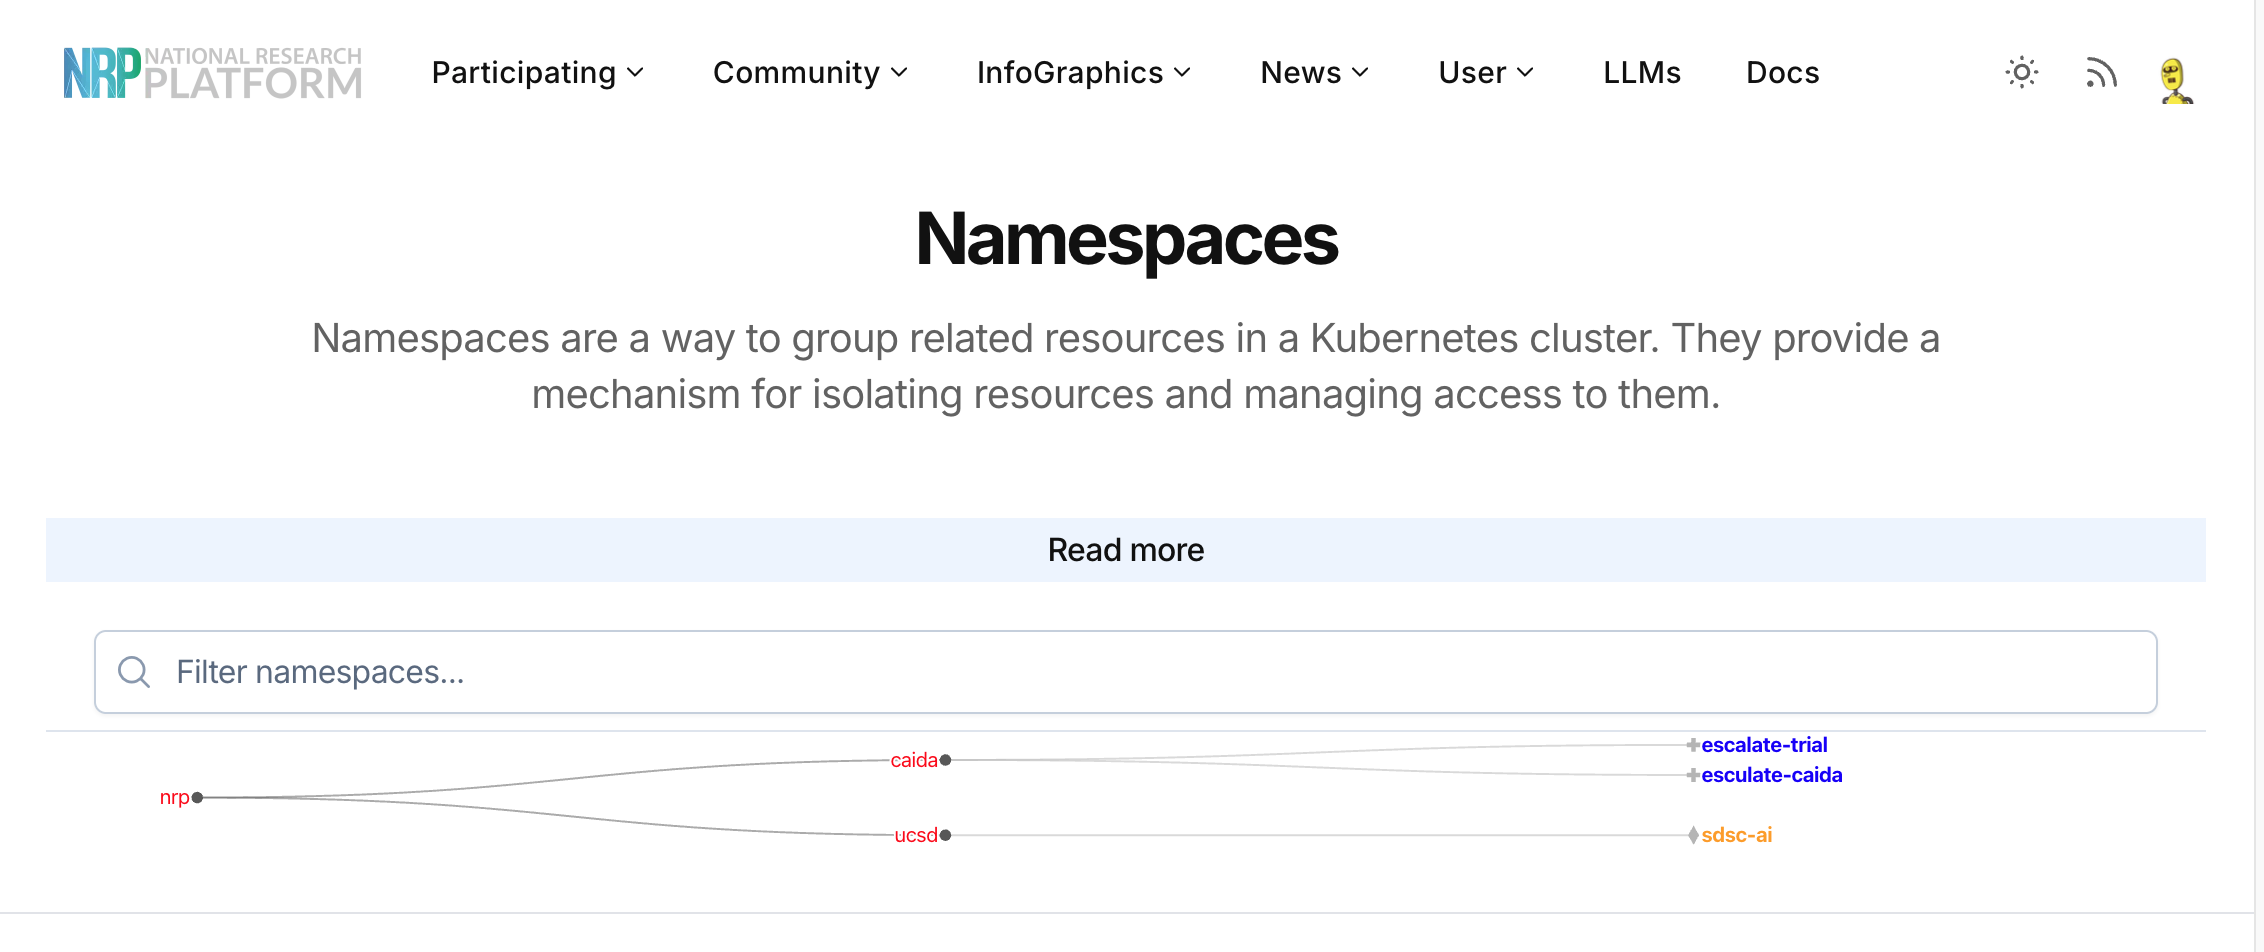
Once your research supervisor has added you to the namespace, go to https://nrp.ai/. Hover over “User” in the top menu, then click “Namespaces” to confirm you have the right one. It should look something like the image below:
-
You should now be able to access JupyterHub. Go to https://jupyterhub-west.nrp-nautilus.io. It will prompt you to sign in with Authentik.
You can read more about the JupyterHub service here.
-
After signing in, you’ll be shown server options: an image and a set of resource sizes.
- Image — the preset works for every module except DNS Ecosystem, which runs its queries under Spark and needs a Java runtime the preset does not have. For that module, select
Pysparkfrom the image list. Choosing the preset instead fails partway through the notebook withJAVA_HOME is not set. - Memory — check your module’s README. Most modules are fine with the default; the Network Telescope module needs at least 16 GB.
Scroll to the bottom and click “Start.”
Your server will take a minute or two to start up.
The image is fixed once the server starts — you cannot change it from inside a running notebook. If you picked the wrong one, stop your server from the JupyterHub control panel and start a new one.
- Image — the preset works for every module except DNS Ecosystem, which runs its queries under Spark and needs a Java runtime the preset does not have. For that module, select
-
From here, follow the module instructions provided by your instructor.
Joining GitHub Classroom (optional)
This depends on whether your supervisor is using GitHub Classroom; if they are not, please skip this step.
-
Go to the link your supervisor provided for GitHub Classroom. If you don’t see your name listed, skip to the next step.
-
Click “Accept” on the assignment screen.
Note: There’s a known bug where the confirmation page may say the repository wasn’t created properly. It usually was. Check your personal GitHub repositories for a new repo called
[name-of-the-module-repo]-[your-github-username]to confirm.
Copying the GitHub Template to Your Jupyter Workspace
-
Go to your JupyterHub at https://jupyterhub-west.nrp-nautilus.io.
-
Use the GitHub integration in the sidebar to clone the repository containing your module.
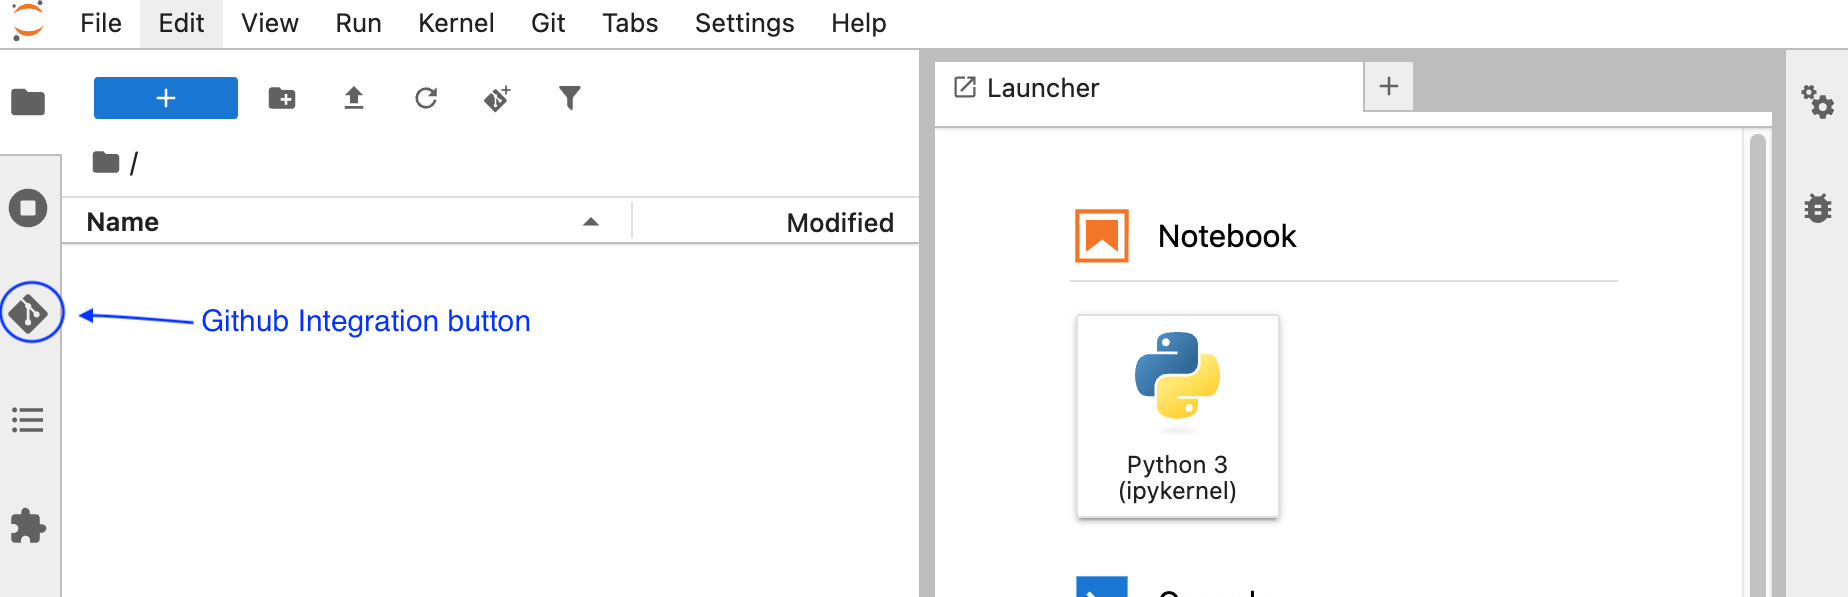
Note: You may need a GitHub personal access token to push changes to your repository later on.
-
You’re set. Start working on your module inside of your JupyterHub notebook!
Need help with NRP? See NRP Help for chat support, contact options, and community resources.